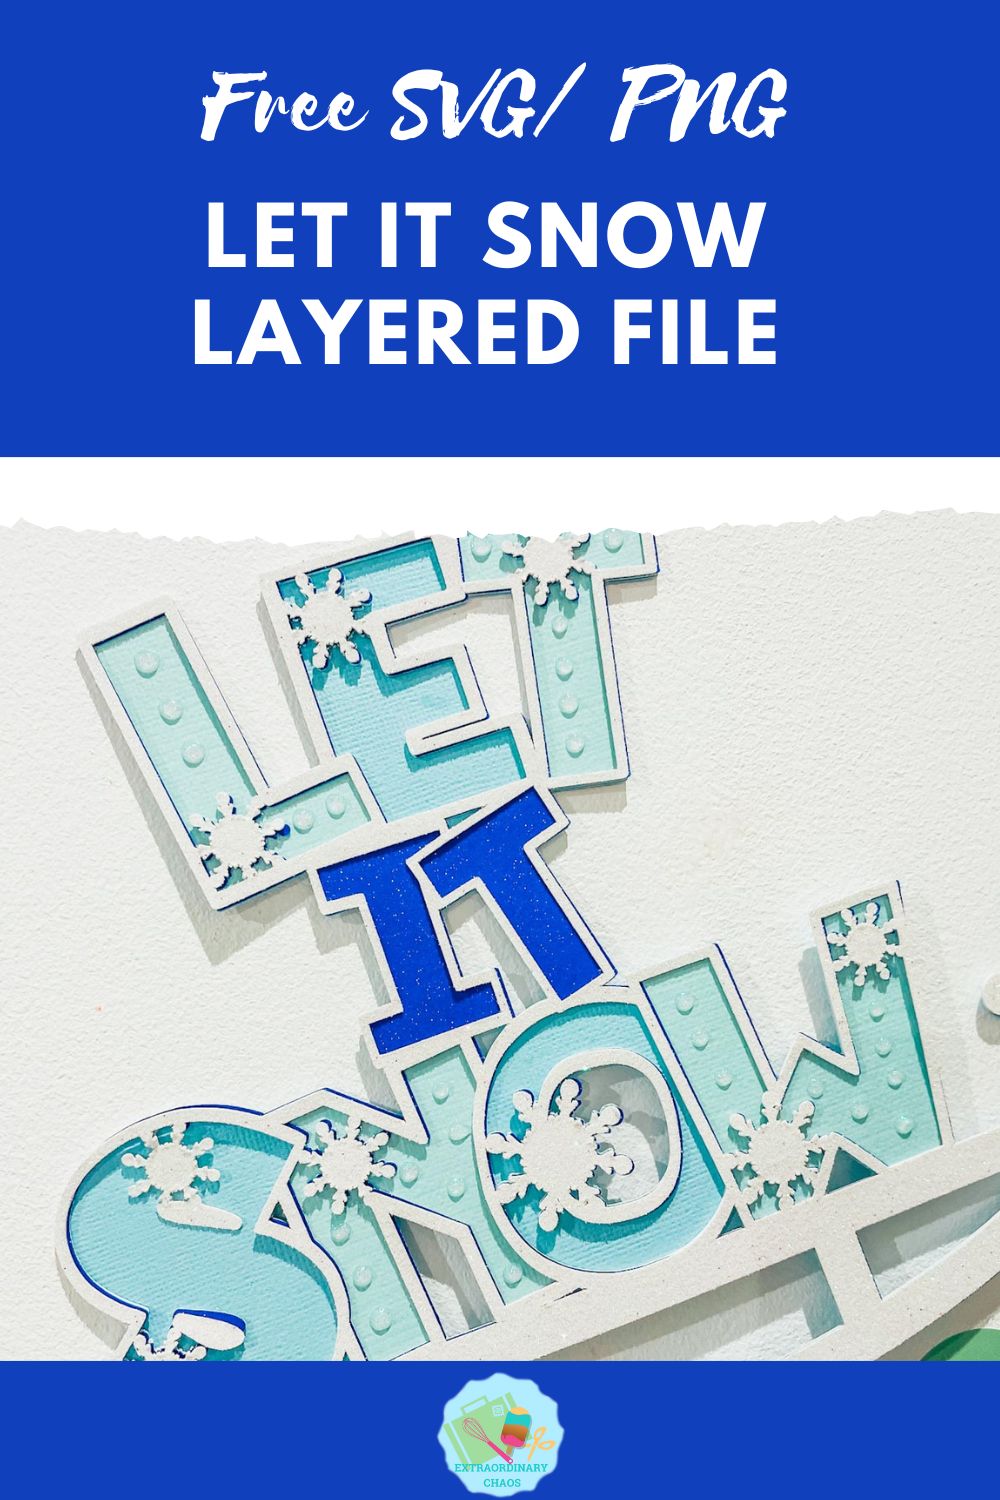
Cliche, but I can’t believe I am starting to think of snow and Christmas, its bonkers. But at the same time soooo exciting to be sharing my Free Layered Let It Snow SVG For Cricut And Silhouette.
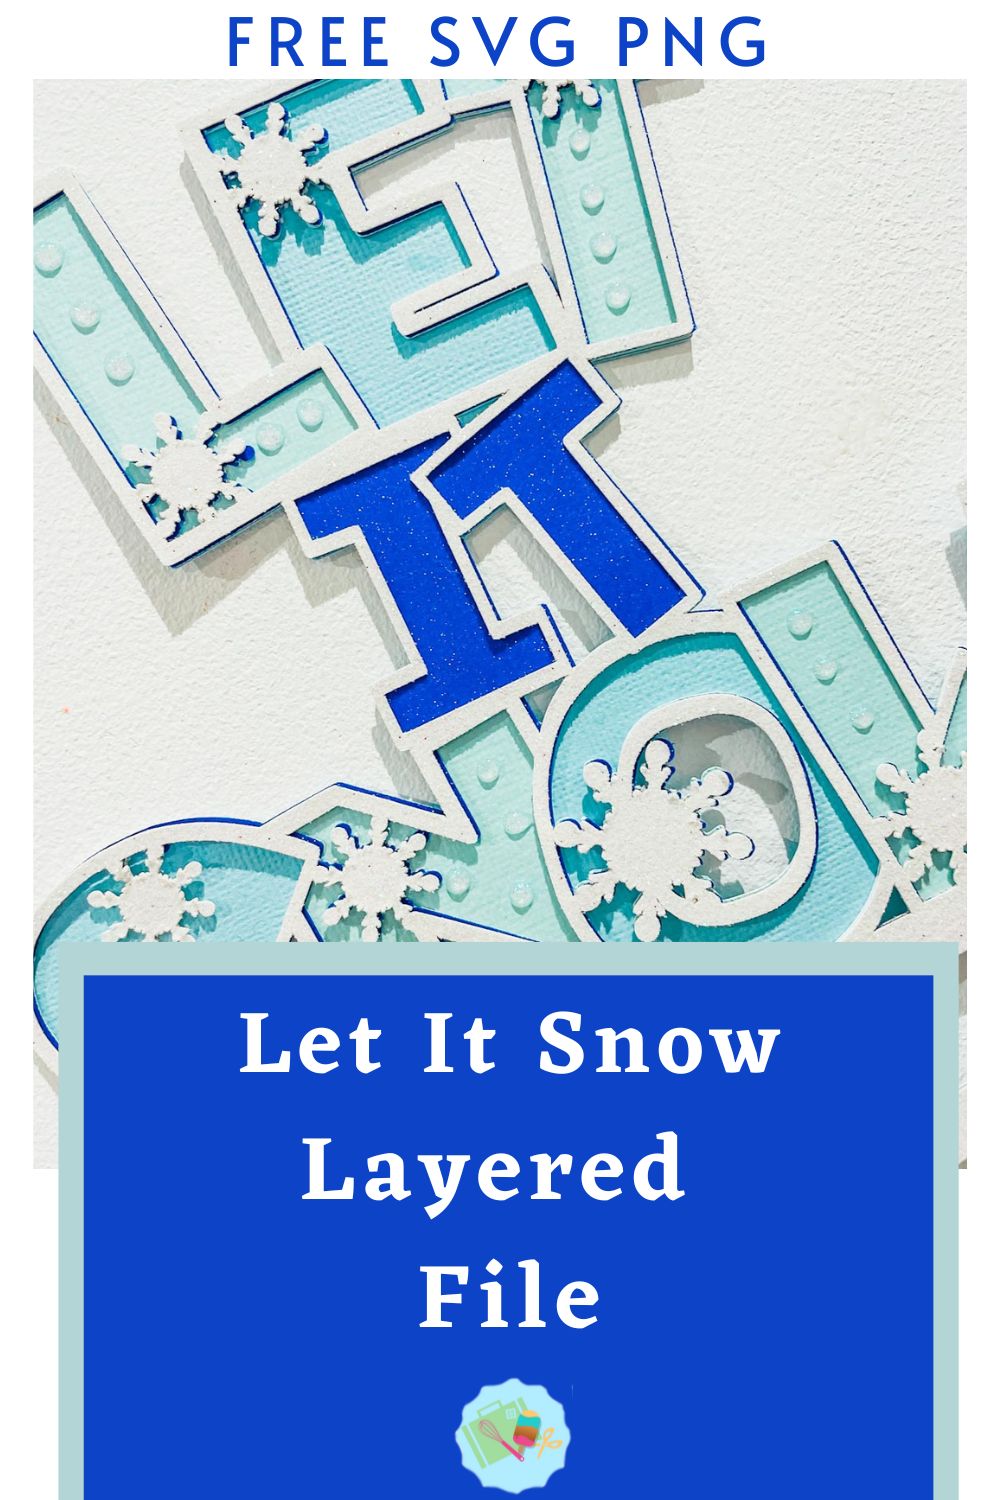
This is a gorgeous snowy themed file all sat on a sledge for a winter snowy feel. Its a great project for scrapbooking layouts, cake toppers and winter decor. It would look great on a cushion too.
If you want to see me create my projects, follow me on Tik Tok and Instagram.
This post may contain affiliate links. Which means I may receive a small commission if you click a link and purchase something that I have recommended at no extra cost to yourself. As an amazon, Cricut and Glowforge associate, I earn from qualifying purchases.
What You Will Need For My Free Let It Snow SVG
- Cricut Maker,
- Weeding Tools
- Brayer
- Card Stock, white glitter, navy blue glitter, pastel blue and pastel green.
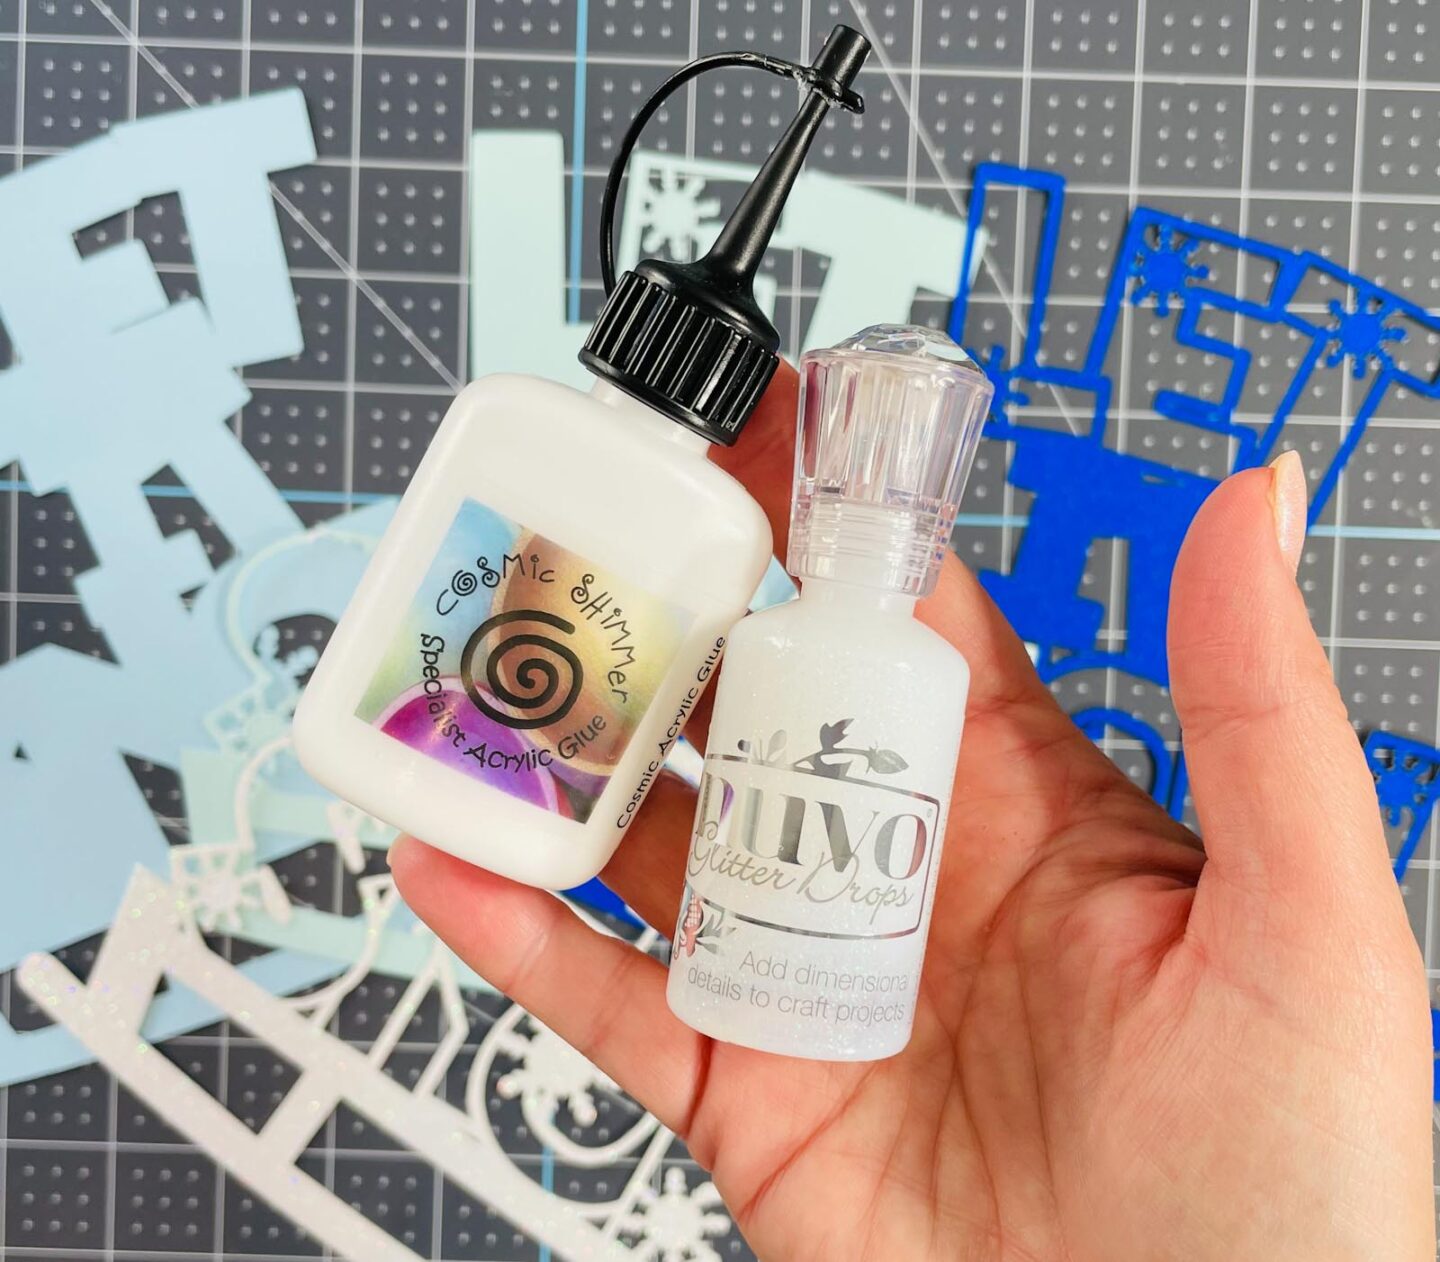
- Glue, I use Cosmic Shimmer Acrylic Glue
- Nuvo Glitter Drops
Making Your Let It Snow SVG/PNG On Cricut
Upload your Let It Snow SVG files to Cricut Design Space, follow these instructions if you need help doing this. Firstly you will need to ensure all layers line up correctly, they should, however if they don’t, click on the padlock on the corner of the snowy files to adjust.
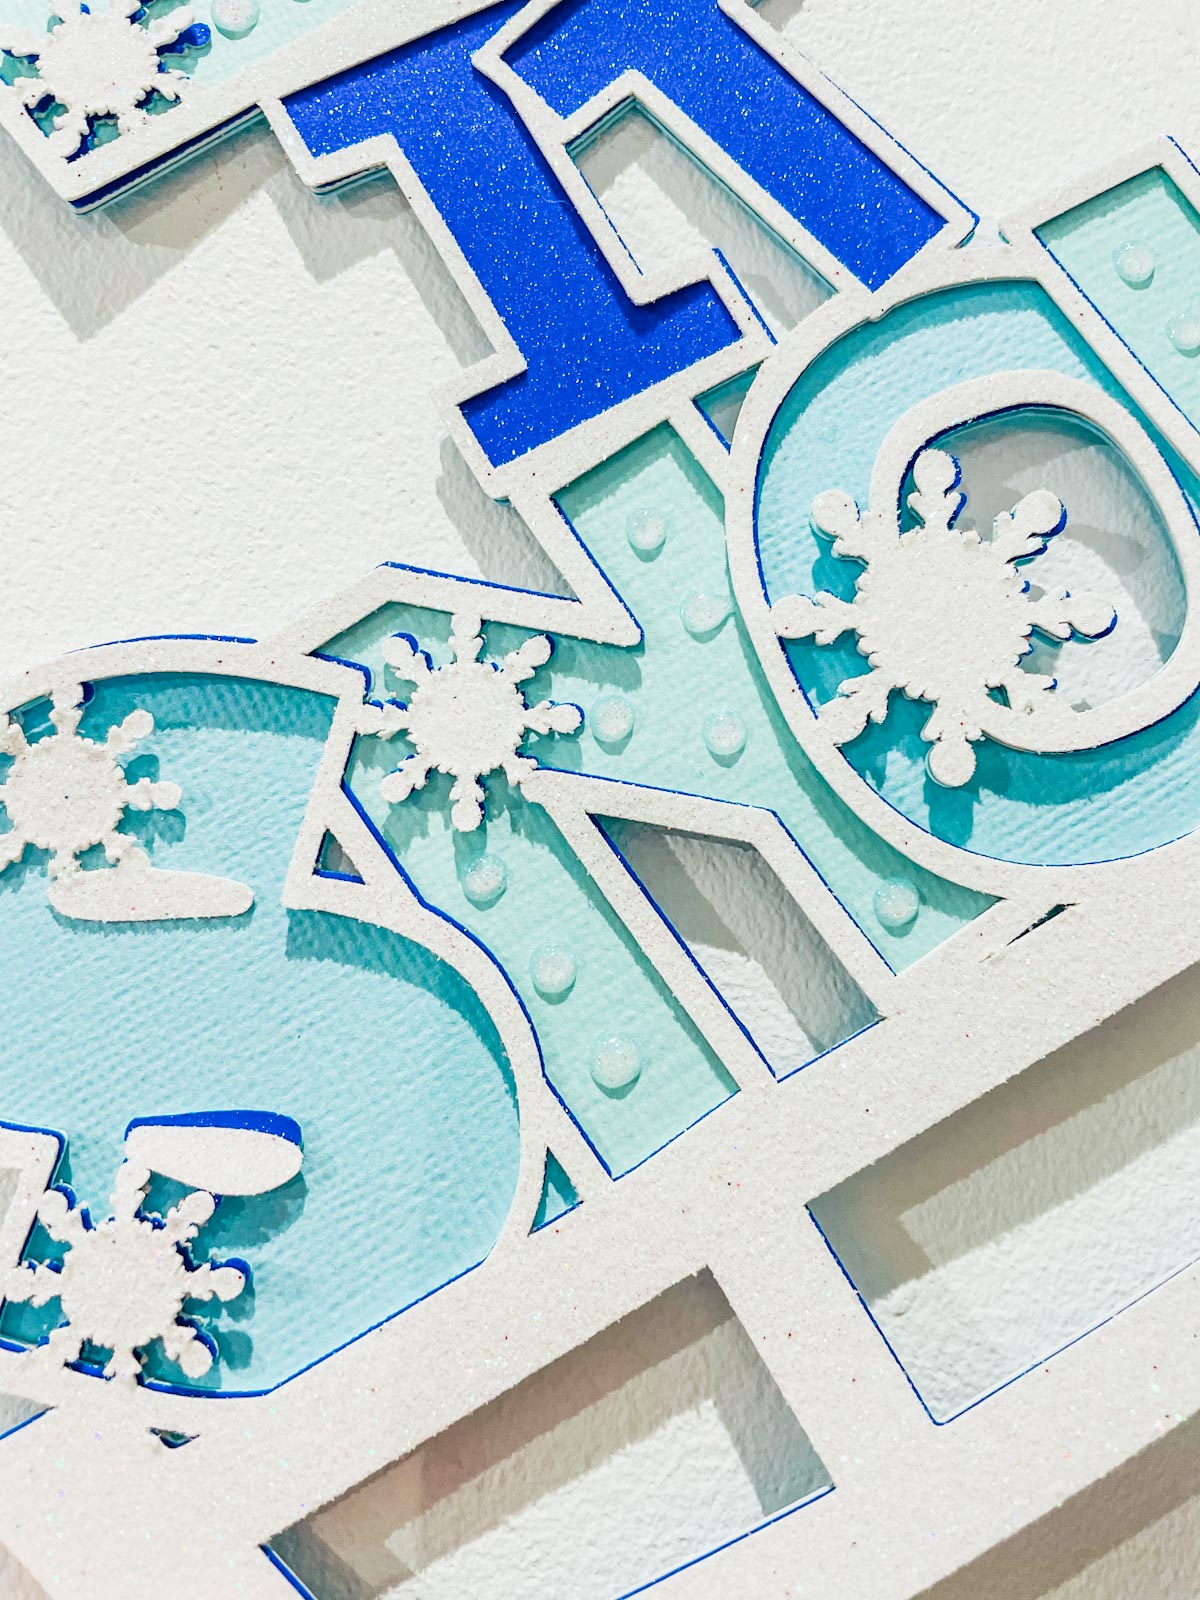
Once you are happy, colour all the layers of your let it snow file using the pictures on this page as a guide. The Colours I used are….
- 1. White glitter for the top layer.
- 2. Navy blue glitter for the second layer.
- 3. Pastel green for layer 3.
- 4. Pastel blue for the back layer.
Cutting Your Let It Snow SVG On Cricut
When you send your Let It Snow SVG/PNG files to your Cricut to cut, ensure you use your brayer to roll the paper, vinyl or card to adhere to the mat. Note that movement will affect the cut.
How To Build Your Let It Snow SVG Layered File
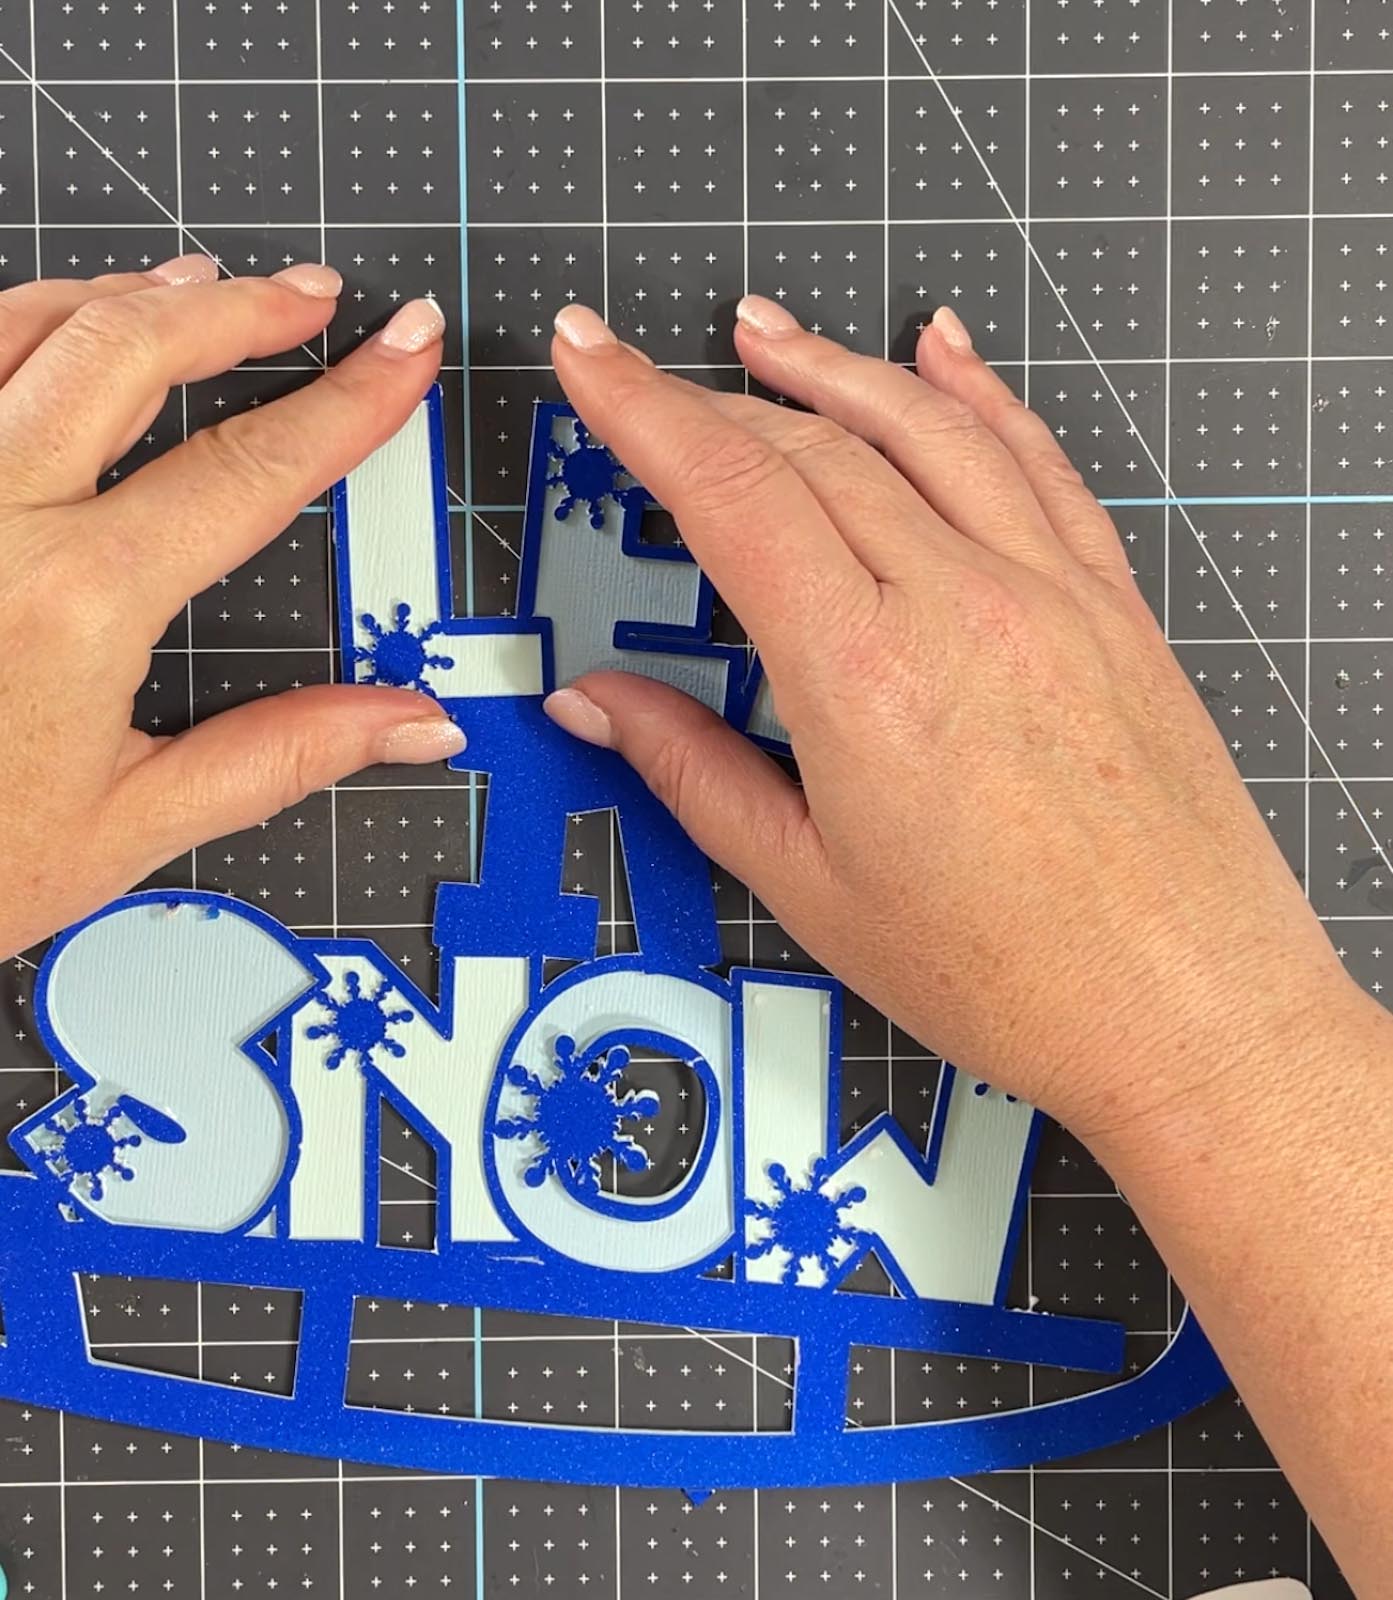
Firstly start by making sure they all line up and every layer is the correct way round, then flip all of the layers over. Put glue onto the back of the green layer and attach it to the top of the pastel blue layer, then repeat with the navy layer attaching this to the green layer. Lastly glue the back of the white glitter layer and attach to the top of the blue layer.
If you are using cosmic shimmer gel it takes a few seconds to set. Thus you have time to position your file perfectly. Finish off by adding glitter snow drops with Nuvo Glitter Drops.
How To Get Your Free Let It Snow SVG/PNG Files
Click here of the the image below to get your free downloadable Let It Snow SVG/png files from our members shop and follow these instructions to add to Cricut Design Space. Don’t forget to turn off any pop up blockers, and if your email doesn’t come through check your spam folder. Note if you are using Glowforge you need SVG files to cut the image out of wood or acrylic. Or Png or SVG to engrave.
If You’re Having Problems?
Check out my trouble shooting page, hopefully it will answer any questions you may have.
Tips And Advice For Using Your Download For Cricut
- Cricut Design Space Guide
- How To Slice And Weld In Cricut Design Space
- How to upload to Cricut Design Space
- Using Iron On Vinyl
- Where Else To Get Free SVG Files
Also please do pop over to Instagram, or Tik Tok and give me a follow and if you make a project tag me! I love seeing everyone else’s makes and chatting crafting. I could do that all day.
