
G-code is a type of computer code that instructs machines on how to perform certain tasks. It is widely used in manufacturing and can control everything from the speed of a machine to the temperature of its heater. If you're looking to start using G-code in your own work, there are a few things you need to know before you get started. In this guide, we'll take a look at what G-code files are and how you can prepare one for use on your own 3D printer or CNC machine.
How G-Code Works

CNC machines and 3D printers are factory tools for fabricating physical objects from a digital design. These machines require a set of instructions to create those objects, which is where the G-code comes in. G-code is a numerical control programming language that tells the machine what actions to take and in what order to take them.
Each line of G-code is called a block, and every block has a specific function. For example, one block might tell the machine to move to a specific coordinate, while another might instruct the machine to start or stop cutting. The code blocks must be carefully ordered and executed to create a working model. As a result, G-code plays a vital role in CNC fabrication and 3D printing.
G-Code Examples
Now that we know how G-code works, let's look at some examples. One of the most common G-code commands is Move, represented by G00, which tells the machine to move to a specific coordinate (without cutting). For example, the following code would tell the machine to move up by five millimeters: G00 Z+05.
Another common G-code command is Cut, represented by G01, which tells the machine to start or stop cutting. The following code would tell the machine to start cutting at a depth of two millimeters: G01 Z02.
Finally, the End command (M30) tells the machine to stop executing the code. This command is typically used at the end of a G-code program. These are just a few of the most common G-code commands used in CNC machining.
Things to Keep in Mind When Creating G-Code
If you are creating G-code files from scratch, the first step is to find the specific commands that your machine understands. Once you have a list of commands, you can start creating your code.
One of the most important things to keep in mind when creating G-code is the order of the commands. The machine will execute the code from top to bottom, so it is important to ensure that your code is correctly ordered. If you are not careful, your machine may not be able to interpret the code properly and could produce inaccurate results.
It is also important to consider what units you will use. The most common unit of measurement for CNC machines is millimeters, but you may need to use other units depending on the specific machine that you are using. Once you have decided on the units of measurement, you can start inputting coordinates into your code.
Once you have created your G-code, you will need to test it to ensure it works correctly. The best way to do this is to run the code on a simulator before trying it on your actual machine, to catch any errors in your code and ensure everything is working properly before the actual manufacturing process.
Most 3D slicing software helps one create G-code files without worrying about the details in the G-code as long as the model was designed correctly. Let's now learn how to prepare G-code in slicing software.
Preparing G-Code in SelfCAD
The slicing software that we are going to use is SelfCAD's Slicer. But you can do it with other software like Cura, Simplify3D, and IdeaMaker. The G-code that we are going to create is for the car shown below.

To start the process, you need to follow these steps:
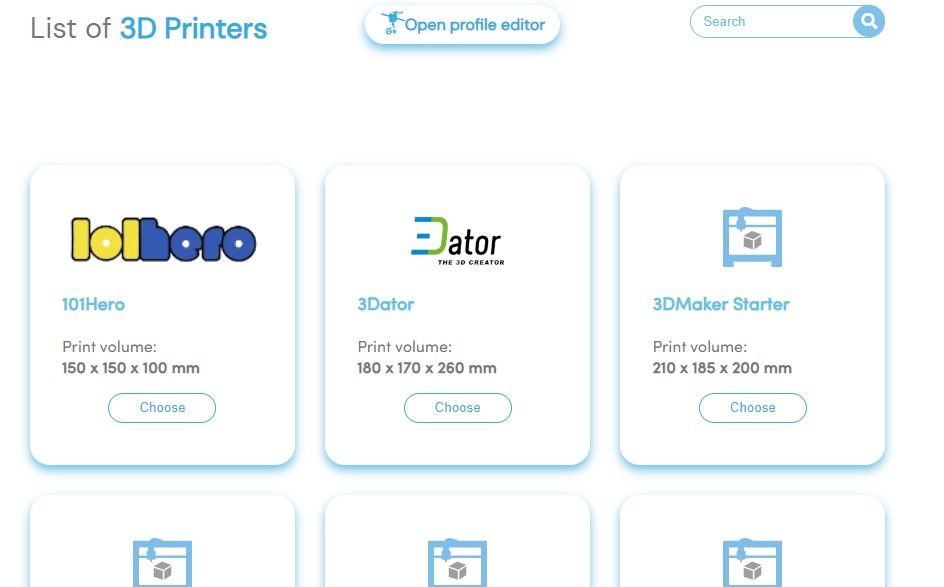
- In SelfCAD, access the 3D Slicer at the top right of the toolbar, labeled 3D Print.
-
Once you click it, a new window will open, redirecting you to the Slicer, where you will need to choose your 3D printer. In our case, we chose Anet A8 for our own 3D printer.
-
Once you choose your 3D printer, you can access the slicer settings, as shown below.
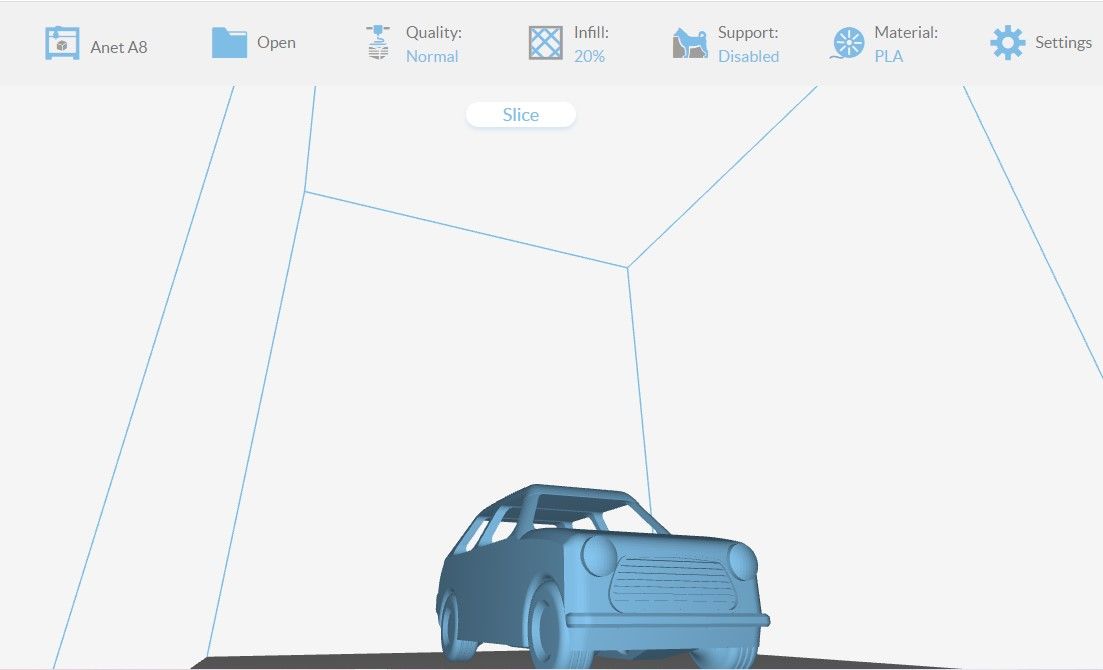
- The default settings can work perfectly fine for most 3D models, but you might sometimes need to adjust a few settings to get the perfect print. Also note that settings for different 3D slicers differ from others.
- Once you are comfortable with all the settings, click Slice. You will then be able to see your sliced model and compare it with the previous model by clicking Solid.
-
Below the model, you will be able to see the time it will take for the model to be sliced, and the size of the 3D printing material it will consume. You can also preview it and see how it will be 3D printed in real-time.
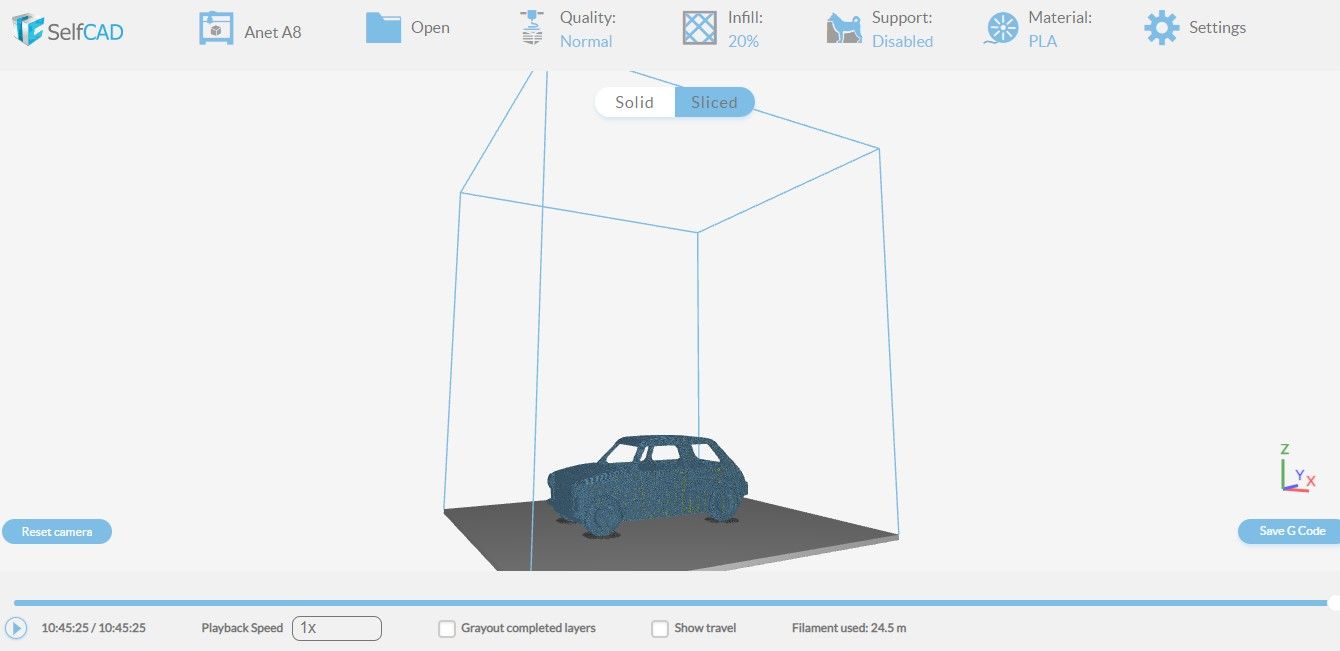
- Once everything is good, you can click the Save G-code button, and you will have generated and saved your G-code.


How To Troubleshoot Errors With Your G-Code
If you're new to G-code or having trouble getting your programs to work correctly, here are five troubleshooting tips to help you get started.
- Check your G-code syntax: G-code is a very specific language; even a small mistake can cause errors. After generating it, it's recommended not to modify it.
- Make sure your machine is configured correctly: Before running your program, double-check that your machine is configured correctly.
- Check for collisions: One of the most common errors in G-code programs is a collision, where the tool comes into contact with an object it's not supposed to. To avoid this, check your program for potential collision points and ensure the tool will have enough clearance.
- Simulate your program: If you're unsure whether your program will work as intended, run a simulation first to catch any errors before they cause issues on the machine.
- Ask for help: If you're still having trouble, don't hesitate to ask for help from more experienced users or professionals.
By following these tips, you should be able to troubleshoot most errors with your G-code programs. With a little practice, you'll be able to prepare G-code files that work as required.
Understand That G-Codes Are Different From M-Codes
G-code commands and M-codes are instructions that tell a machine tool what to do and how to do it. The difference between G-codes and M-codes is that G-codes tell the machine tool what to do (move, cut, etc.), while M-codes tell the machine tool how to do it (speed, coolant, etc.). In other words, G-codes are the commands, and M-codes are the settings.
G-codes are referred to as "geometric" codes because they deal with the geometry of the machining operation. Examples of common G-codes include G01 (linear interpolation), G02/G03 (circular interpolation), and G96/G97 (constant surface speed). On the other hand, M-codes are referred to as "miscellaneous" or "machine" codes because they deal with everything else that isn't related to the geometry of the machining operation. Examples of common M-codes include M03 (spindle on clockwise), M04 (spindle on counterclockwise), and M06 (tool change).
Understanding and Creating G-Code
By following this guide, you should now have an understanding of what G-code is and how to go about using slicer software to create your own G-code files to use with a 3D printer or CNC machine. You should also be able to avoid some of the most common errors.